


A Step-by-Step Guide for Design Enthusiasts
I can barely contain my excitement for today’s blog post. We are Creating a DIY Large-Scale Wall Mural that can grace any room in your home.
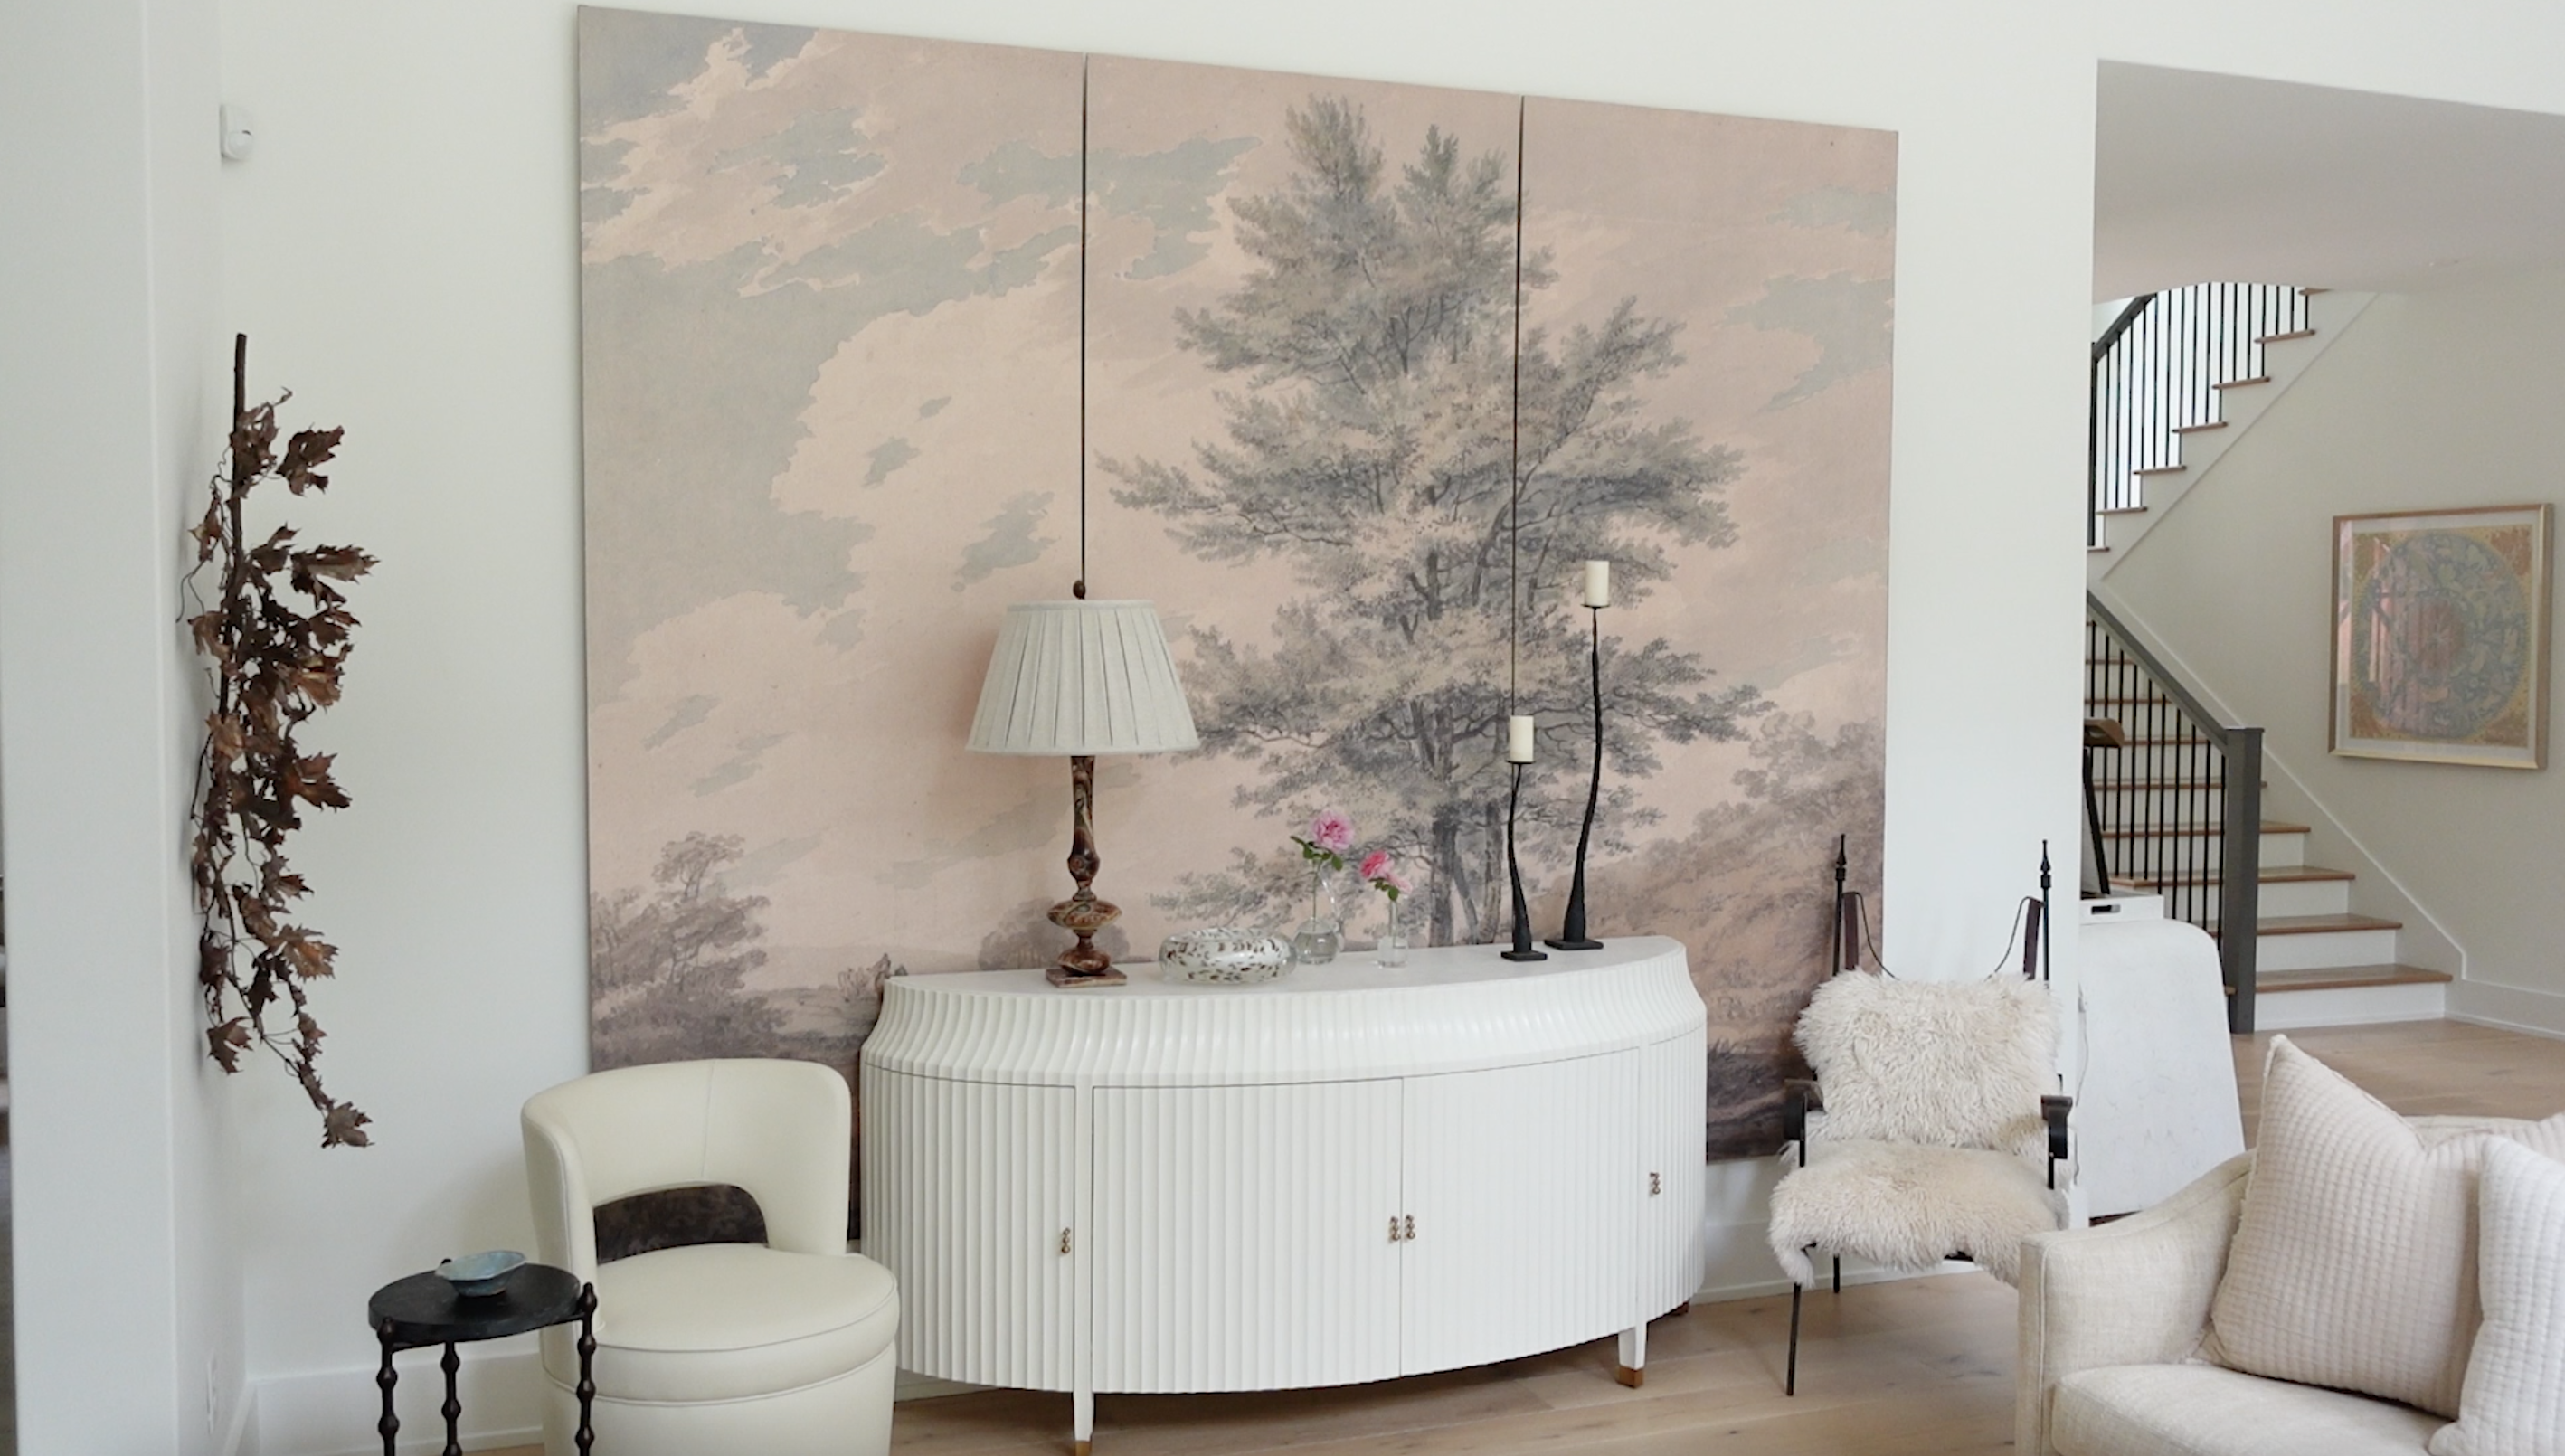
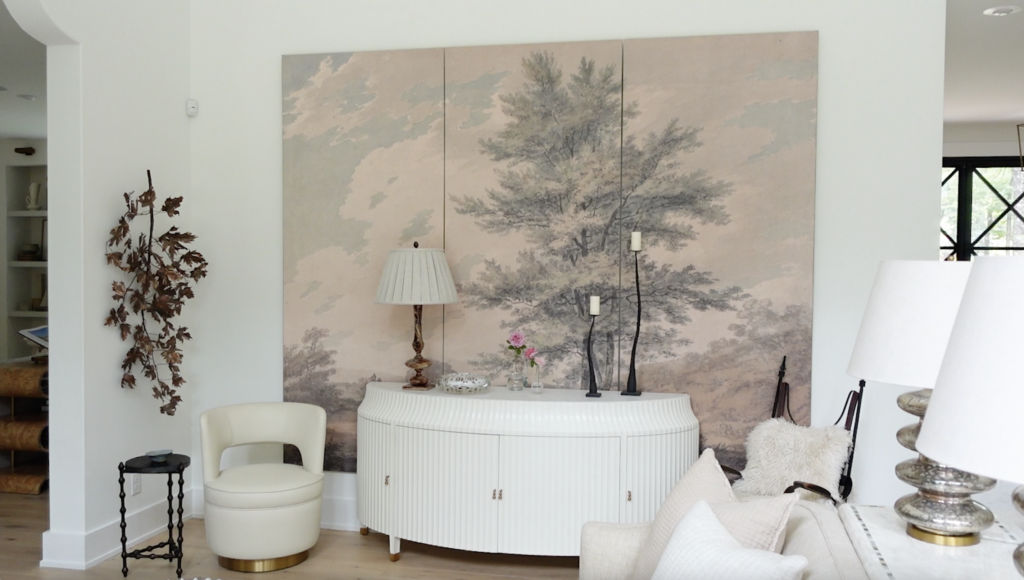
Unveiling the Finished Product
Before we embark on the journey of creation, let me give you a sneak peek of the finished product. Imagine a massive wall mural in three distinct panels, hanging proudly in my home.
The visual impact is awe-inspiring, and I can’t wait to share how you can achieve the same effect.
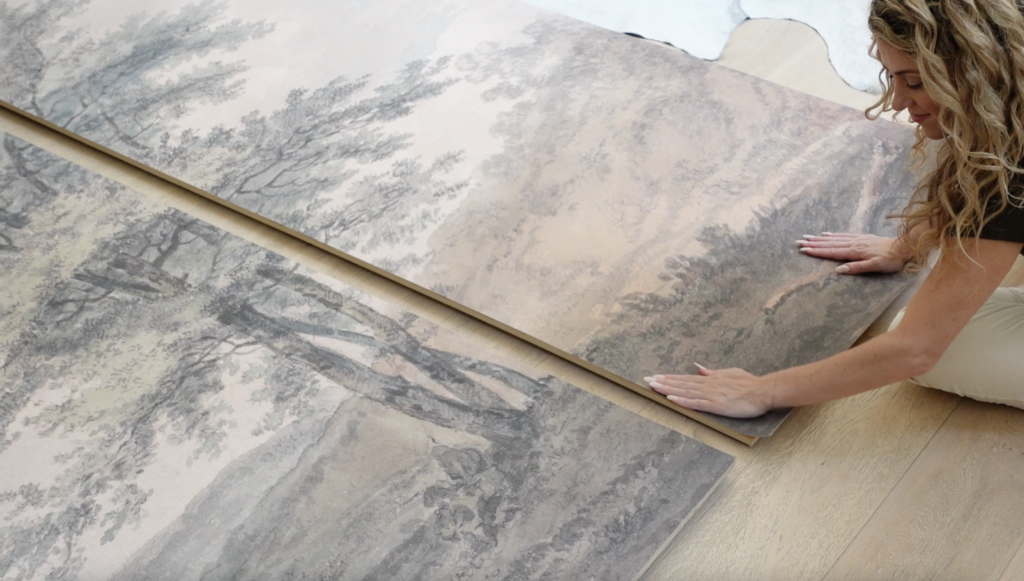
Now, let’s head outdoors, and I’ll take you through the step-by-step process of bringing this gorgeous wall panel look to life in your own home.
Creating Your Mural Panels
Applying the Mural to your MDF
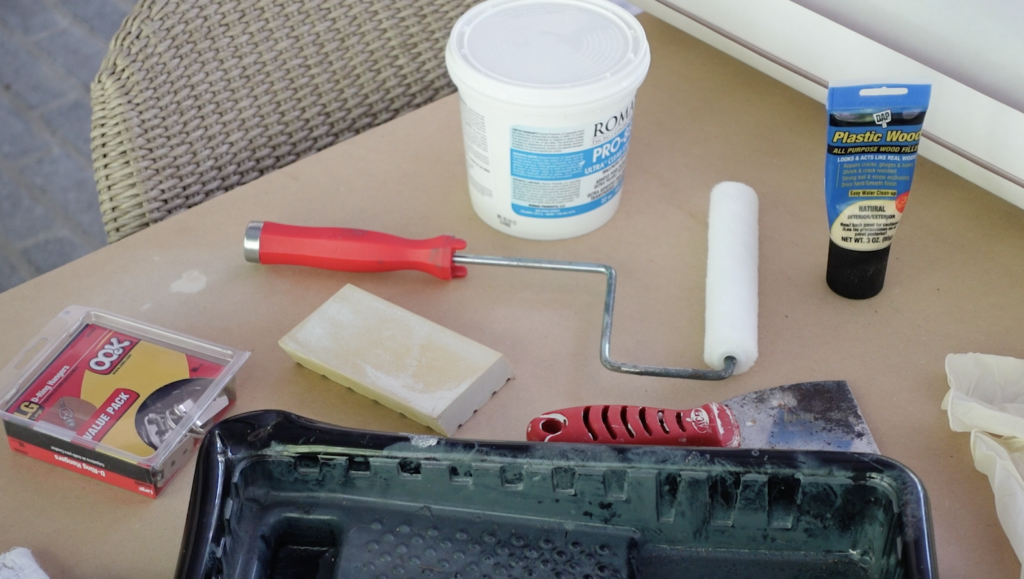
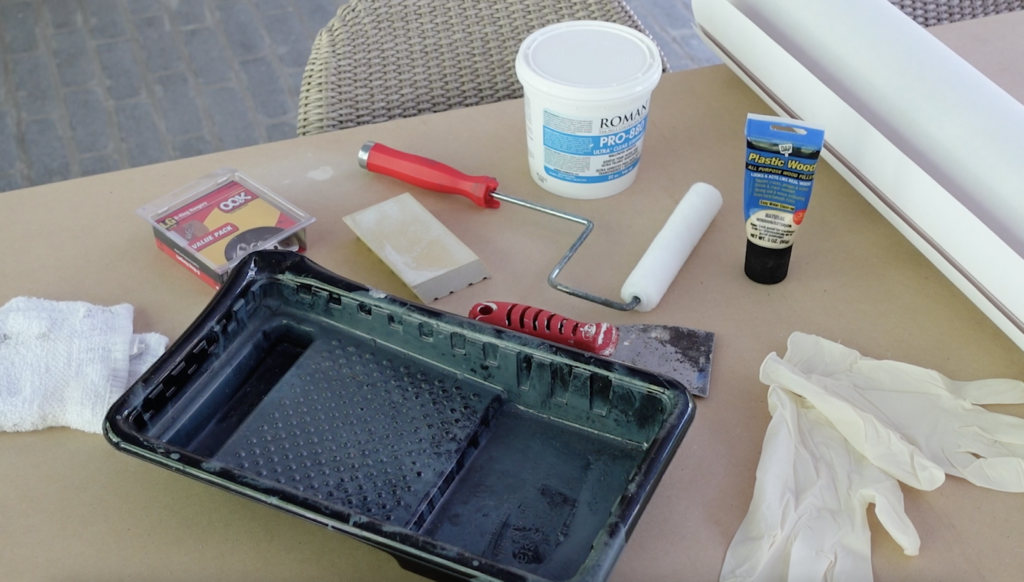
First, let’s gather the supplies. I sourced my mural from an Etsy store, and I highly recommend it for quality and affordability. Once it arrived, I measured each panel meticulously. To complement the mural, I opted for half-inch MDF for its lighter weight. We trimmed the MDF sheets to match the mural’s dimensions and added one by threes for support. Here’s what you’ll need:
- Mural
- MDF sheets
- One by threes for support
- Screws
- Wood filler
- Wallpaper paste
- Roller, spatula, and rag
- Wallpaper paste holder
- Gloves
- D Hooks for hanging
Now, let’s get to work!
Applying the Mural to Your MDF: Step-by-Step
- Roll out the center panel of your mural.
- Carefully align the edges and corners.
- Starting from the top, gently roll the mural back.
- Apply wallpaper paste from top to bottom.
- Roll up the panel from the bottom and continue applying paste.

Repeat these steps until the mural is completely applied to the board.
How to Hang Your Panels
With your beautifully adorned MDF panels ready, it’s time to hang them on the wall. The added one-by-threes on the back provide both support and a place to attach D-rings for hanging. These panels are weighty, so you might need a helping hand. Here’s the process:
- Attach D-rings to the back of each panel for hanging.
- Take precise measurements for panel placement.
- Begin by hanging the center panel, then add the side panels.
- Ensure everything is centered and aligned.

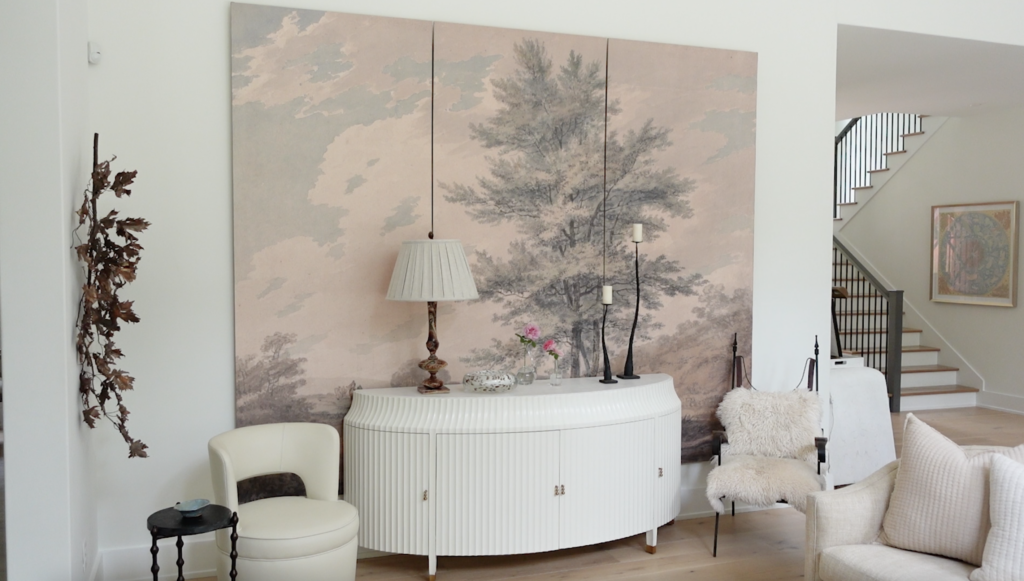
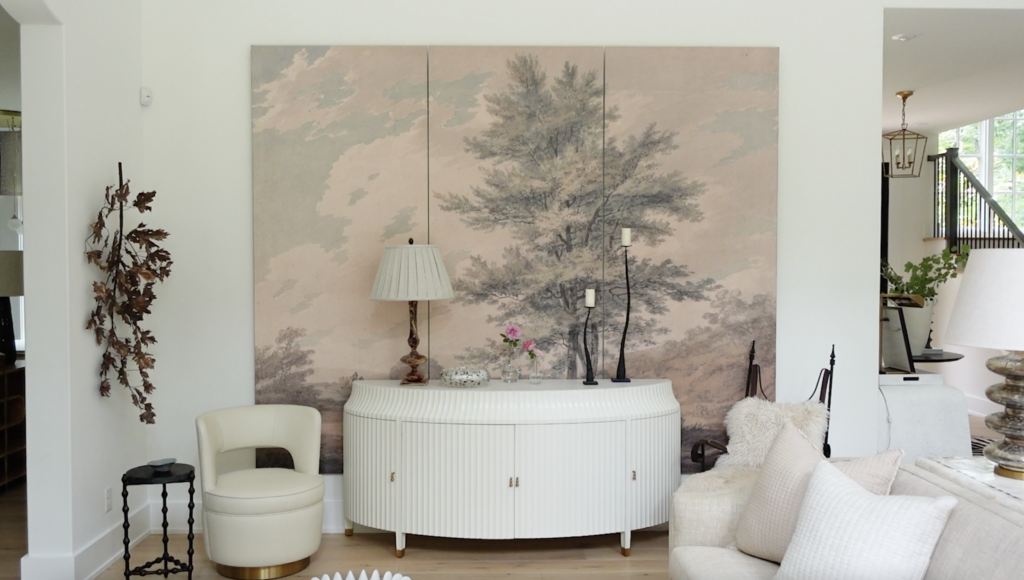
The Finished Product: Bringing Your Space to Life
This DIY project turned out to be a game-changer for my great room. The large-scale mural brings vibrancy and character to the space, and I couldn’t be happier. If you’re hesitant about such a bold application, remember, that you can customize the size to suit your preferences.
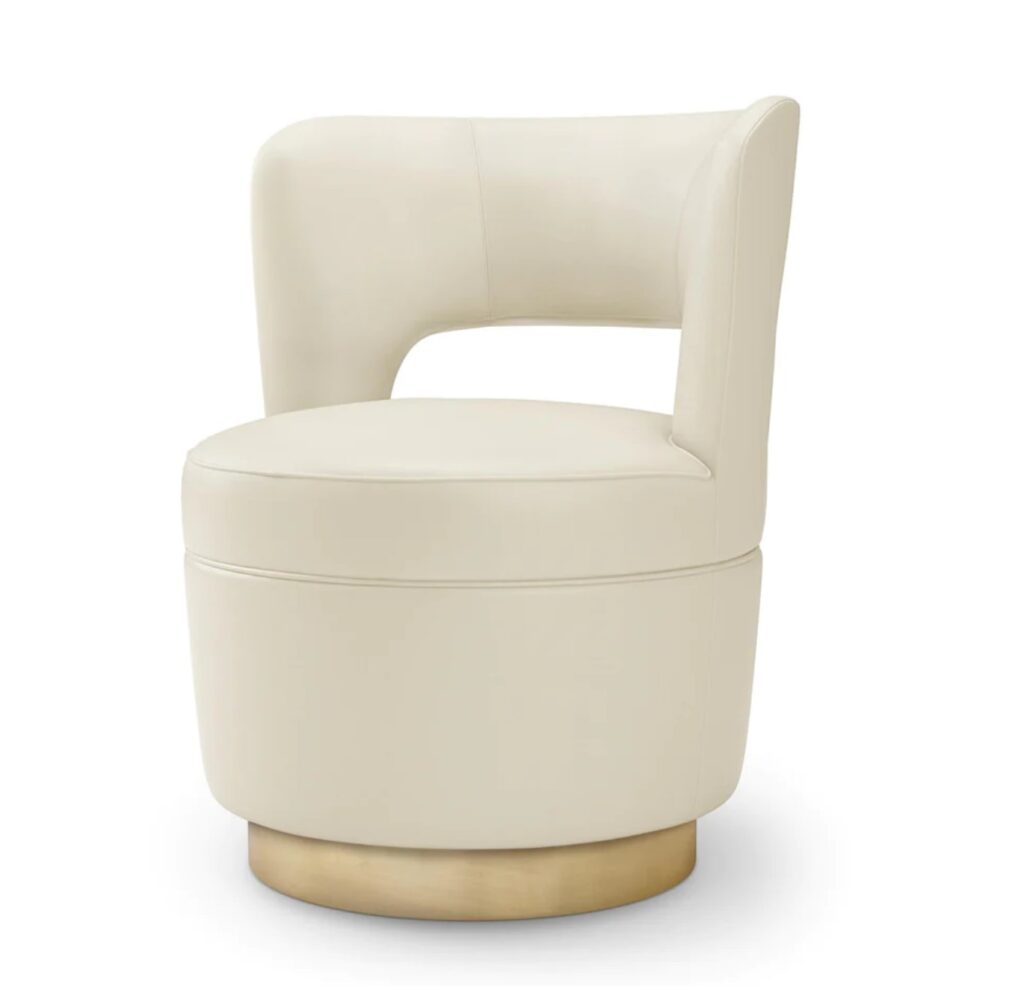
Shop everything you’ll need for your own mural below & how we styled it.


I hope you enjoyed this DIY journey as much as I did. Let me know in the comments if you’re inspired to try it yourself or if you have any questions about the process.
For more design goodness, follow us on Instagram @ashleychildershome and Pinterest @ashleychildersco. Check out the full video below to see step-by-step how I created this large-scale wall mural.
Remember, good design is for everyone. Create a home that inspires you, have fun with your DIY projects, and fall in love with where you live—one room at a time.
XO, Ashley

get the paint guide
Take the guess work out of picking paint colors with our pro paint guide! We're sharing all our favorite colors and our very best designer tips to help you choose the right color every time.
get the guide
Paint
colors
the 2025 best
watch our channel
Looking for design inspiration, pro tips and some of
our favorite resources? Join us on YouTube to get weekly style recommendations, expert design advice, and entertaining ideas.
Join us on YouTube


